There are some new recipe posts up on my food blog https://joanadacozinha.blogspot.com/
Tuesday, 9 January 2024
Thursday, 5 August 2021
Colegio de Iberio II
I taught two classes on 16th century Portugal at the Colegio de Iberio II
One on Pasteis de Leite
and the other on the gowns from the St Auta Altarpiece
Monday, 26 April 2021
Baronial Anniversary 25 Feast
I was in charge of the feast for the 25th Anniversary of Southron Gaard. The concept was a Feast of Favourites where I would cook the food that people in the Barony had enjoyed the most over the years. I created a Google Form where I asked people to nominate their favourite dishes and any special memories that went with the food. I also had several verbal suggestions. People were most excited by lozenge, mushroom pie and variants on cheese pie. It became obvious that a course of pies was necessary! The Stewards were keen to do a peacock soteltie and while it is very difficult to get a peacock to cook but chicken was easy. We decided as part of this soteltie to do a gilded chicken as is found in Pleyn Delit. On the night we added edible glitter to the coating to make it extra gilded! One of the most popular dessert suggestions was pears in red wine so I made sure we had plenty of pears. I ended up cooking them in the slow cooker which worked nicely. The full menu for this feast with references can be found here.

Photo of one of the many test cooks for this feast
Wednesday, 3 February 2021
Chemise Mark 2
I did not like how the first chemise/camisa I made was sitting wiht the dress. The fabric i had chosen was too heavy to sit like the chemise in the portrait. It was also very itchy! A friend suggested that the linen fibres had been cut to a similar length to the cotton and so I was being spiked by many sharp linen threads.
I therefore chose to make a new chemise out of a much lighter fabric, which was a cotton voile. This is much cheapier than a linen and finer than any linen sold in my country. I felt this made it a good alternative to use. I used exactly the same construction method as the first so hand sewed the entire garment. I found a different gold trim for the neckline and I much prefer the colour of gold in these two the first one!


New chemise front and back

Chemise neckline detail
Monday, 18 January 2021
Layer 4 Dinner!
I will come back to do a write up of Layer 2 and 3 but for the moment here is Layer 4. The recipes can all be found on this document. Here I created a Spanish/Portuguese dinner for a friend and I of Moorish Chicken, Moorish Eggplant and a Pottage of Onions with Portuguese custard tarts for dessert.

The furthest small brown dish is the eggplant, the closest pink dish is the onion and the chicken is on the left by the candle.

 Portuguese custard tart!


Sunday, 29 November 2020
Layer One complete!
I have now finished both the chemise (camisa) and the petticoat (saia) which is my first layer done.
To put the petticoat together I whip stitched the edges of all the pieces by hand and then whip stitched them together to make up the body of the skirt.

Seam inside skirt
I had to trim some fabric off the hem as the gores were making it uneven. To finish the hem I got one of the strips of fabric I had cut off the edge of the fabric and ironed the raw edge inside it as you would with bias binding. This ironed edge I then whip stitched to the hem of the skirt as a binding.

Hem binding
I then got some strips of wool batting and folded that inside the back of this binding. This is similar to a technique used in 16th century Florence Italy where the extant Red dress at Pisa has a doppia or felt padded hem with a satin covering inside the hem, copertura della doppia (See Landini and Niccoli, Moda a Firenze 1540-1580, p. 74). The wool I used is more like a stuffing than a felt but I wanted the bulk to give the petticoat some body. I also could not at that time find any wool felt in the shops so this was a good alternative! This wool batting keeps the petticoat out from the feet and hopefully provides volume under the skirt of the gown. I am hoping to get the A-line shape of the skirt which is so common across 16th century Europe. I then whip stiched the back edge of this binding strip inside the skirt to form the hem


Hem with padding
To make the waist band I got the other strip of the edge of the fabric. I measured my waist to get the correct dimensions and cut a front and back waist band out of the strip. I wanted to interline the waist band in a firmer fabric as the taffeta lacks the necessary structure. I had some wool/silk blend off cuts from my red silk dress so cut a waist band out of this. I then folded and ironed the strip of embroidered fabric over this to provide an edge and then whip stitched the petticoat fabric to the wool/silk to form one edge of the waistband.

Interlining of waistband
I looked at the length of the top of the skirt compared to the waistband. At the front it was an easy match but at the back the skirt was much bigger so I ran a gathering running stitch by hand and pulled in the skirt to the correct dimension.
To attach the waist band I whip stitched the edge of the waistband to the skirt all the way around and then folded over the waistband, pressed it and sewed into place on the inside of the skirt by (guess what!) more whip stitching!
I had left a 7 inch opening on both sides of the front panel. A friend of mine recommended this as it allowed for a greater flexibility of size of waist band. I used my awl to make a eyelit hole on the waist band on either side of these openings. I sewed around the eyelit holes with red embroidery thread that matched the red flowers on the dress. I also made two strips of left over waist band to serve as placards inside these openings. I had some velvet ribbon I had sewn in half some time ago so I got two lengths of this and threaded it throught the eyelit holes to make two tied closures on both sides of the front. I put aglets at the end of these pieces of lacing to make them last longer and keep the ties in the skirt.

Tie and placard


 Skirt back

Eyelit hole and lacing
Overall, I am really pleased with the petticoat. I love how it sits and think the Alcega pattern has a lovely shape to it. I love the fabric I chose which although it is not authentic makes for a very pretty petticoat and particularly like how I used the edge as the waistband and hem. I would in future put a bit more fabric in the back of the skirt and make the lacing cord a bit shorter. I am however very happy with how this garment has turned out.

Skirt front

Layer 1 front

Layer one back

Saturday, 31 October 2020
Undergarments Part 2: Petticoat
I decided I wanted to make a petticoat as part of my under layer. I have a red silk petticoat I often wear under my dresses and I find it does a great job of adding shape to my skirts. I have had some fabric that I've been meaning to turn in to one for some time now so this seemed like a great opportunity! I have no evidence that Portuguese women wore a petticoat but it is interesting that Alcega has a number of examples of under and over skirts in Libro de Geometria which is only separated from my chosen area by 60 years and one border. It seems to be very plausible that Portuguese women would have worn some kind of underskirt to support the over layers. I am also not planning on making a kirtle to go under my dress as I want to wear it in one of the hottest parts of the year. Hopefully my petticoat will give me extra volume in my skirt without adding extra warmth!
I had a good look through the faldellin and vasquina patterns in Alcega. I was very taken with the vasquina de feda para muger gorda which is pattern number 58. This translates as a "kirtle of silk for a fat woman".

I am in fact a fat woman so this greatly appealed to me!
The fabric I am using is pretty but not especially authenic. It is an embroidered polyester taffeta. Normally I would prefer to use silk but as it was taffeta meant it had the body I wanted to provide support. Its other big selling point was the embroidery which is done by machine and not authenic in design. It is however very pretty and reasonably priced. The last two points overcame my concern about authenticity. As it is a petticoat it is not going to be seen by anyone except me and my nearest and dearest so it is not the end of the world!

Isn't it lovely?
I used the waist and length measurement from my red petticoat to make up the pattern using the diagram in Alcega for the shape of the pieces. I chose to cut off the border on the edge of the fabric which I will use as a waistband and hem binding. I then measured the width of the left over fabric and based my pattern on this.

I first made the pattern on paper as I wanted to get a feel for what it looked like and then used this paper pattern to cut out the fabric.
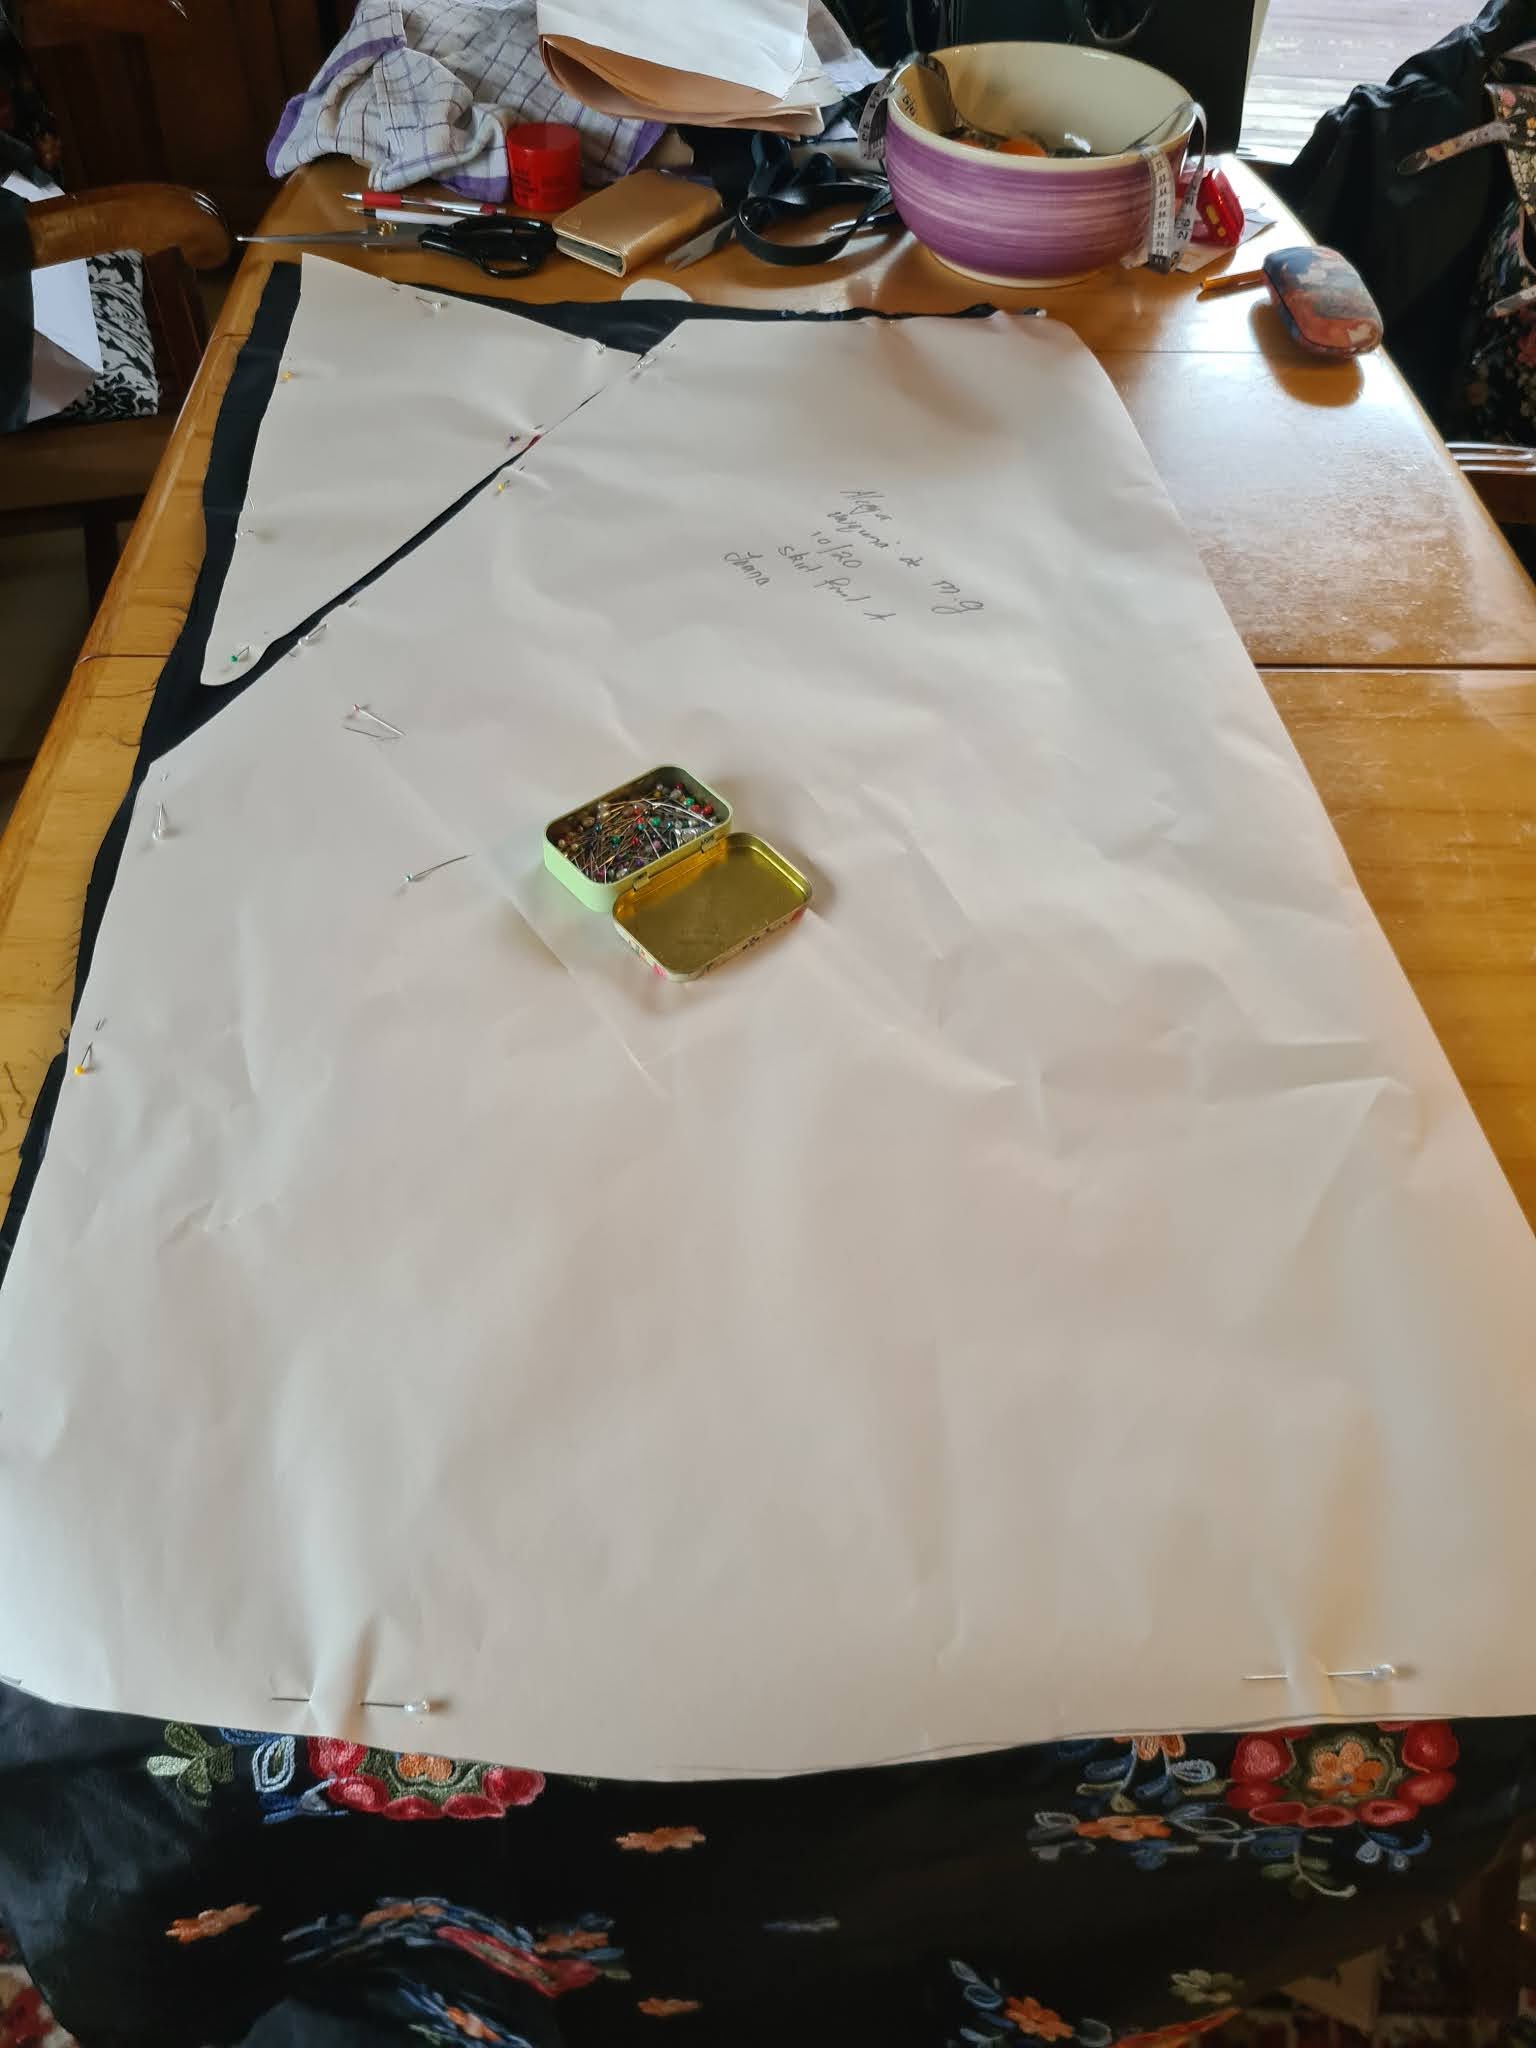
I chose not to follow Alcega's layout to the letter as I wanted to work with the pattern. I also had enough fabric to cut out the back gores the right way up so the pattern followed the big front and back sections. The smaller front gores are upside down but I decided it wouldn't matter so much.
I am now going to use the same hand sewing construction method as my chemise where I will hem together all the pieces individually and then whip stitch them together. My red petticoat is made like this and has proved very durable!
Subscribe to:
Posts (Atom)